JavaScript has become one of the most popular languages for developing frontend and backend applications in the past few years because of some awesome frameworks like React, Angular, and Vue. For Node.js many libraries and helpers ease the task of developing the backend, but it doesn’t provide a proper architecture.
The basic problem with other Javascript-based frameworks
One of the basic problems I faced while working with Node.js and its framework was while working on different projects. The thing is, there will be different architectures as it will be designed as per the developers working on that project. So one might take a long time to understand the whole architecture and start working on it.
Another problem that one can face is, that if you poorly design your architecture, it might be difficult to scale the project for a larger audience and can be difficult to maintain it. Now let’s see how Nest JS solves this problem.
Basics of Nestjs
Nest JS provides an out-of-the-box architecture like Angular and uses TypeScript as its default language though you can use JavaScript as well. It also provides built-in support for GraphQL. It’s also easy to conduct testing.
Nest JS architecture mainly divides its code into Controllers, Services, and Modules; you can also divide your code as per your requirements into DTOs, Middleware, Guards, etc.
The best part is after initializing the project you just need to add files as per your requirements using Nest cli.
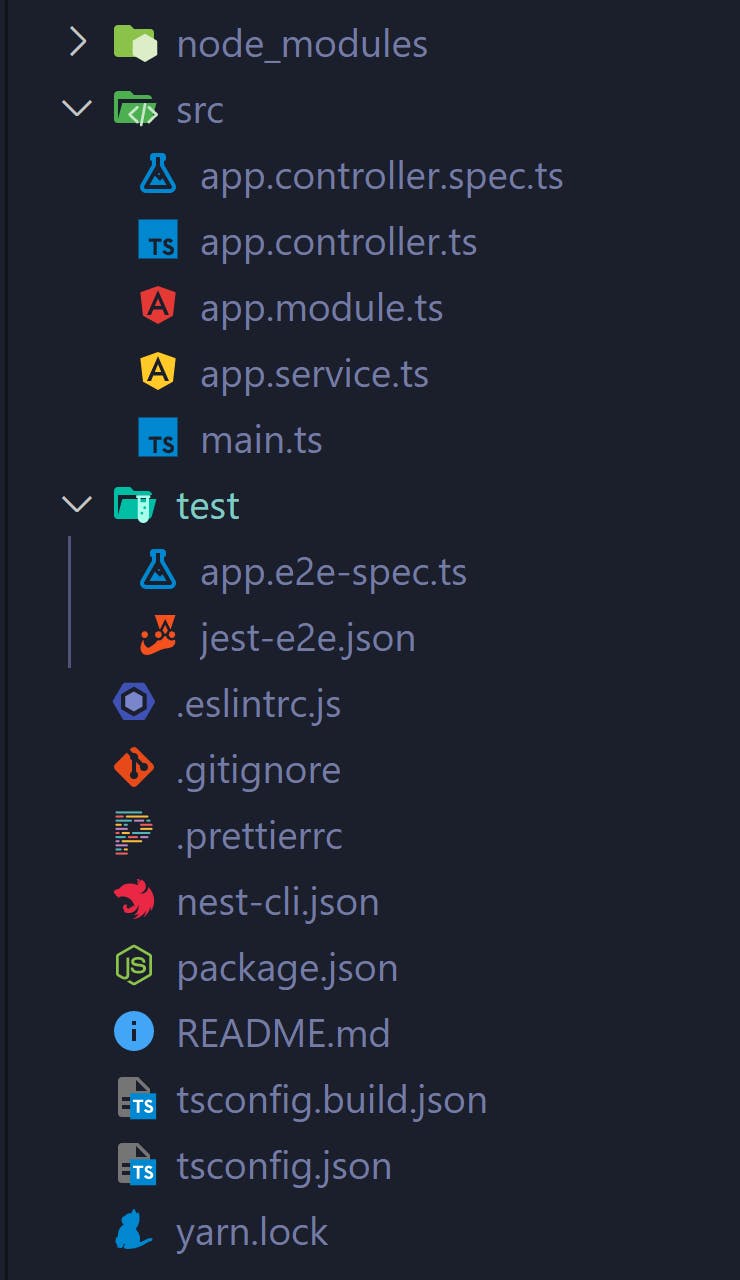
Before we get into what Controllers, Services, and Modules let’s first see what the folder structure of the Nest application will look like:

Now let's understand its basic structure in detail!
What are Modules?
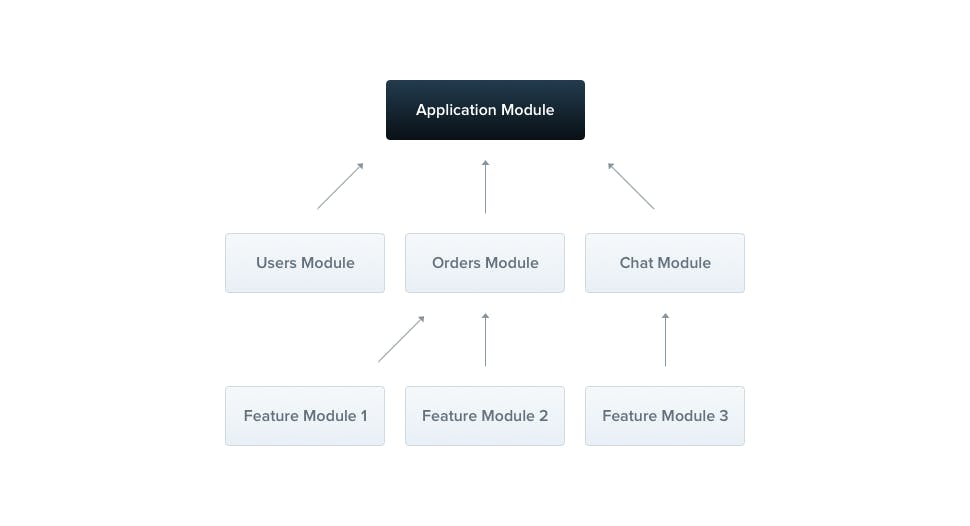
The module is a class annotated by @Module decorator which provides the metadata to Nest to organize the application structure. Each application has at least one root module that connects to other modules in the application. It acts as a parent for that particular functionality.
Below is the image of how modules are structured in a Nest JS application.

source: Nest JS docs
Module file will be importing controller and services for that particular functionality. So the Module file will look something like this:
import { Module } from '@nestjs/common';
import { AppController } from './app.controller';
import { AppService } from './app.service';

@Module({
  imports: [],
  controllers: [AppController],
  providers: [AppService],
})
export class AppModule {}
But you might be wondering how we make a new file and where should we make it; to create a new module file you just need to write the following command in your terminal if you have Nest CLI installed: nest g module example
This command will make a new folder and inside that folder, it will create a new file with the name example.module.ts
What are Controllers?
Controllers handle the incoming requests and send the responses to the client and Nest calls a specific controller according to its routing mechanism i.e. if you want to add some responses on call of the ‘/example’ route then you need to declare it using the @Controller() decorator and in the argument you will pass ‘example’ so it will look something like @Controller(’example’) and you are supposed to write all of these code inside the example.controller.ts file which you can create manually or you can use nest g controller example command to do that and it will be automatically imported into its module as well when it’s generated using Nest CLI. The file will look something like this:
import { Controller } from '@nestjs/common';

@Controller('example')
export class ExampleController {}
This helps in grouping the requests under one common route inside the controller like follows:
@Get()
   getExample(): string {
        return 'Hello from example controller!';
   }
Similarly, you can add Post, Put, or Delete routes. You can also nest the route bypassing the string in arguments as we did in the controller’s decorator.
What are Providers?
Providers are plain JavaScript classes that are declared as providers in Nest. Providers can be injected as a dependency, i.e. objects can create various relationships with each other. Providers can be of types services, repositories, factories, helpers, etc. But the one mainly used is services.
As we learned controllers are used to handling requests; similarly, providers are responsible for more complex logic to compute the responses. Let’s explore how you can use providers for our example functionality here we will be using services as providers. To create a service you need to write the following command in your terminal and it will create the file and import it as a provider in the module: nest g service example and write the following function inside your class:
getExample(): string {
        return 'This is example from service.'
    }
Also, update the example.controller.ts file by importing your service inside the constructor and using it to return the response like the following:
import { Controller, Get } from '@nestjs/common';
import { ExampleService } from './example.service';

@Controller('example')
export class ExampleController {
  constructor(private exampleService: ExampleService) {}
  @Get()
  getExample(): string {
    return this.exampleService.getExample();
  }
}
Congratulation! you just configured your first Nestjs API; now if you start the server using npm run start and try accessing /example you can see This is example from service.
Let's wrap up
So far you have learned about Modules, Controllers, and Providers; now let's recap the same by also knowing a bit about its other components!
Controllers: Handle incoming requests, map them to appropriate methods, and return responses.
Services: Encapsulate business logic, interact with databases or external APIs and provide a layer of abstraction for Controllers.
Modules: Bundle functionality together, including controllers, services, and sometimes other modules. They can also handle configuration and provide dependencies to other application parts.
DTOs (Data Transfer Objects): Define the structure of data being exchanged between layers (e.g., between Controllers and Services).
Middleware: Intercepts requests and responses, allowing for tasks like logging, authentication, or error handling.
Guards: Act as authorization checks, determining if a request should be allowed to proceed.
For more, you can visit Nestjs official docs.
Stay tuned for my next blog where we will create a basic API using Nestjs, GraphQL, and SQL!

